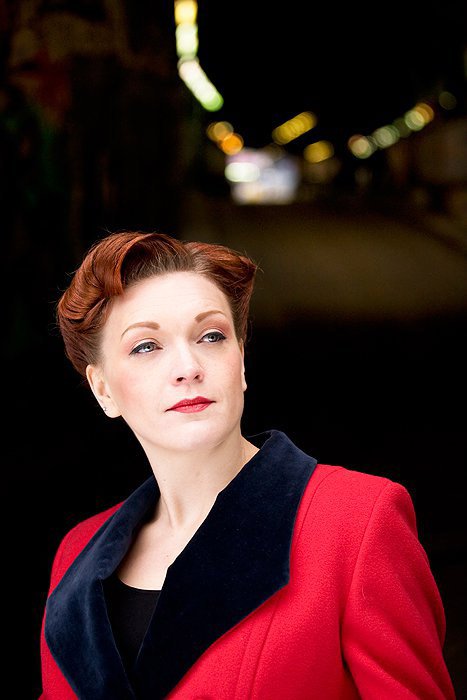
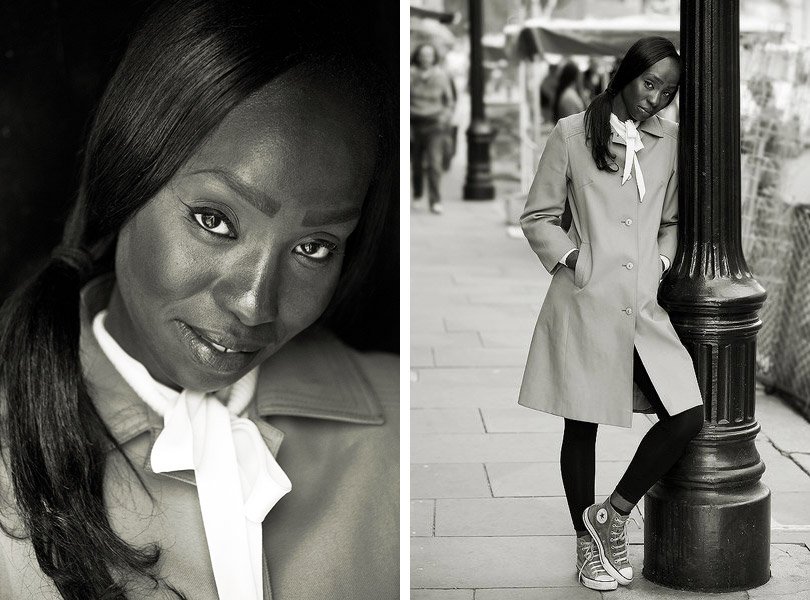
Perhaps the most important thing to consider when photographing portraits in natural light is the location. Factors such as indoor or outdoor locations, time of year and indeed time of day, quality of light and background will all affect the shoot.
It’s important to carefully consider each of these before even picking up the camera so you can be ready for any eventuality, because unlike working in a photographic studio environment, you have no direct control over the positioning or the intensity of the light.
The purpose (e.g. head shot, family photo) or intended style of the photo session (e.g. mood, theme) will determine the appropriate background.
As per lighting basics, assess how the direct light affects the model. Light that is too bright or strong will create dramatic shadows on the subject. In addition, if the model is looking into the bright light, they will most definitely squint their eyes!
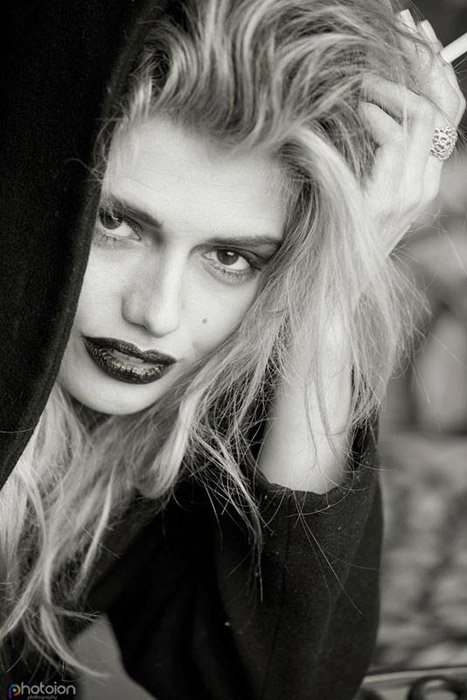
Softer light will create less contrast and flatten the composition, and will eliminate harsh or dark shadows from the subject resulting a more even skin tones eliminating the blemishes, but by the same token too hard light will result in dramatic composition.
Some ways to overcome some lighting problems outdoors is to make the use of natural shades, such as foliage or structures such as porches, canopies and arbours. Photographing on a cloudy day will provide diffused but consistent light source.
Indoor locations are slightly trickier in that unlike outdoor locations, the light will be approaching from a very specific location, such as a window or a door. This of course can be used to a very dramatic effect by creating shadows on one side of the subject, or adding shadow (such as window frames).
However, if you intend to avoid dramatic contrast, a solution to overcoming mono-directional light is to carry a reflector to the photo session. This can be positioned to gently reflect the natural light onto the other side of the model.
The key here is to experiment with different positioning of the model and exploring what works best for the composition in the selected location. Ensuring you have great communication with the model will go a long way to making this easier.
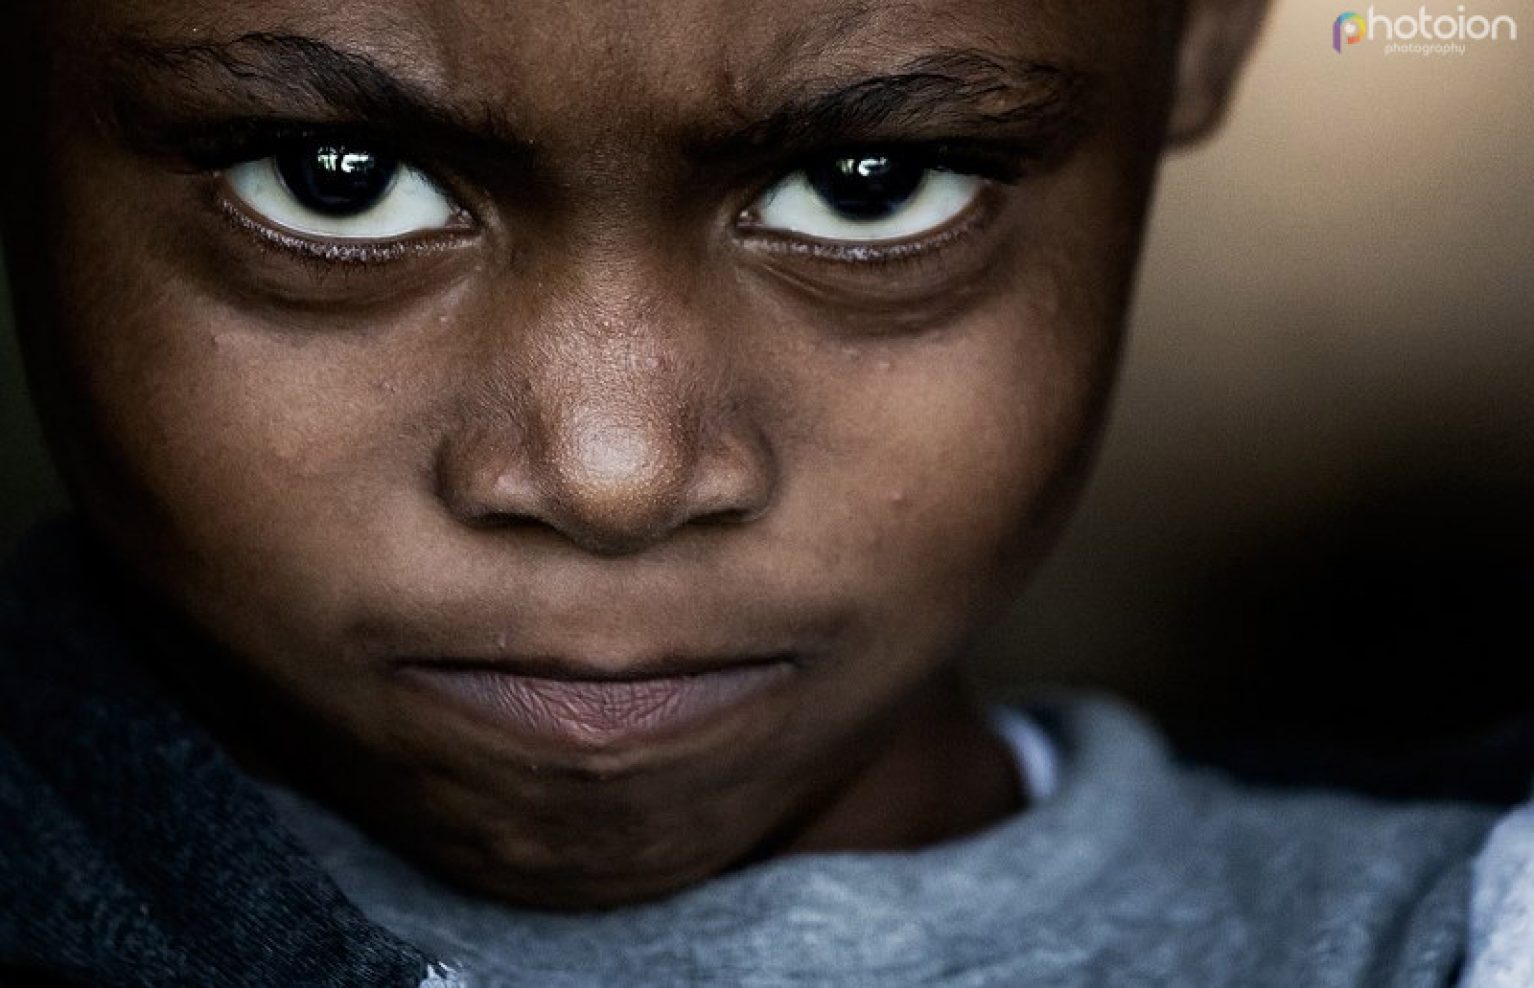
Camera settings come into play at the end of the chain. Once all the other factors are considered, final tweaks can be made using the camera’s settings to optimise the exposure. In portraits, the camera’s focus should be centred on the eyes. Wider aperture settings will help to blur out the background to draw focus on the face, and white balance settings can be tweaked to deal with the lighting conditions depending on the season and the time of day.


Leave A Comment